Saturday, March 30, 2013

Riceballs (Longini)

We say Longini, most recipes say Arancini. Either way they are referred to as Rice balls and are a family tradition that my family adopted from my husband's family. His family has been making rice balls for generations, and they traditionally serve them at Thanksgiving, and Easter. My family has adopted the tradition, made a few changes to the recipe and we typically make them in December, except this December we moved to Wisconsin to our temporary apartment and decided to make them once we got to the new house as a sort of "kitchen warming". (The ingredients are spaced out a little throughout, so read all the way through before shopping!)

First you will want to make the meat and sauce mixture the day before, or very early in the morning the day you make them, since it has to slow cook for 6-8 hours.

Meat and sauce mixture:
4 1/2 lbs cubed pork roast 
(2) 12 oz cans tomato paste
3 cans water
1 onion (diced)
3 cloves garlic (finely chopped)
1 tablespoon oregano
1 tablespoon basil
1 tablespoon sugar
1 teaspoon salt

I cook the meat all day, in the crock pot of course!
Start by browning the meat.


You aren't really cooking it, only browning the outsides. Then add it to an oiled crock pot.


Saute the onions and garlic in a little olive oil.


Add the tomato paste and the water.


 Next the oregano, basil, sugar, and salt. Stir well and bring to a simmer.


Pour it over the meat in the crock pot, cover and cook for 6 to 8 hours on low.


Then I cooled the mixture and put it in the fridge to wait for the next day when the rest of the assembly crew would arrive.


During the meat ball making process you'll need:
1 lb genoa salami
1 cup romano cheese

Grind the meat adding the salami a little at a time. You should scoop the meat out of the sauce, not pour it in, you want a little sauce in there, but not too much or the meat balls will be too wet, and sauce will fly all over the kitchen! But save the sauce, there will be a use for it later. Once all the meat is ground add the romano cheese and mix well.
The meat grinding and meat balling is usually my husband's job. The original family recipe has you hand tear the meat, but that takes forever. We bought a meat grinder attachment for my kitchen aid mixer, and only use it to make rice balls, but it is so worth it!


While you are grinding the meat, start making the rice. For the rice mixture you will need:

14 cups dry rice (yes I said 14!)
28 cups water
14 eggs
3 1/2 cups romano cheese

The original recipe we had just started with 2 lbs of rice and told you to keep making more, til you ran out of meat balls. In the past someone has always gone to the store half way through to buy more rice. And eggs. And usually wine. This year we were taking no chances, since we live in the country now, the nearest store is 20 minutes away. So we bought a super big bag of rice. That small brown ball on the counter next to it is a kiwi fruit (for scale)


When cooking the rice cook 2 dry cups of rice in 4 cups of water at a time. Cover and cook til the water is absorbed (about 20 minutes)


While you are waiting for the rice you can get your other cooking stations prepared. Here is the "Egg and Bread Crumb Station", manned by my brother Tim. For this station you will need 16 additional eggs for dipping the rice balls in and 1 large container of Italian bread crumbs.


And the "Fry Station", manned by my dad.


When the rice is finished pour into a bowl to cool, if you spread it out it cools a little quicker. (Now that the rice cooking pan is free, start another batch immediately! The main thing that slows us down is waiting for more rice. We have tried bigger batches at a time, but somehow the ratio gets thrown off.)


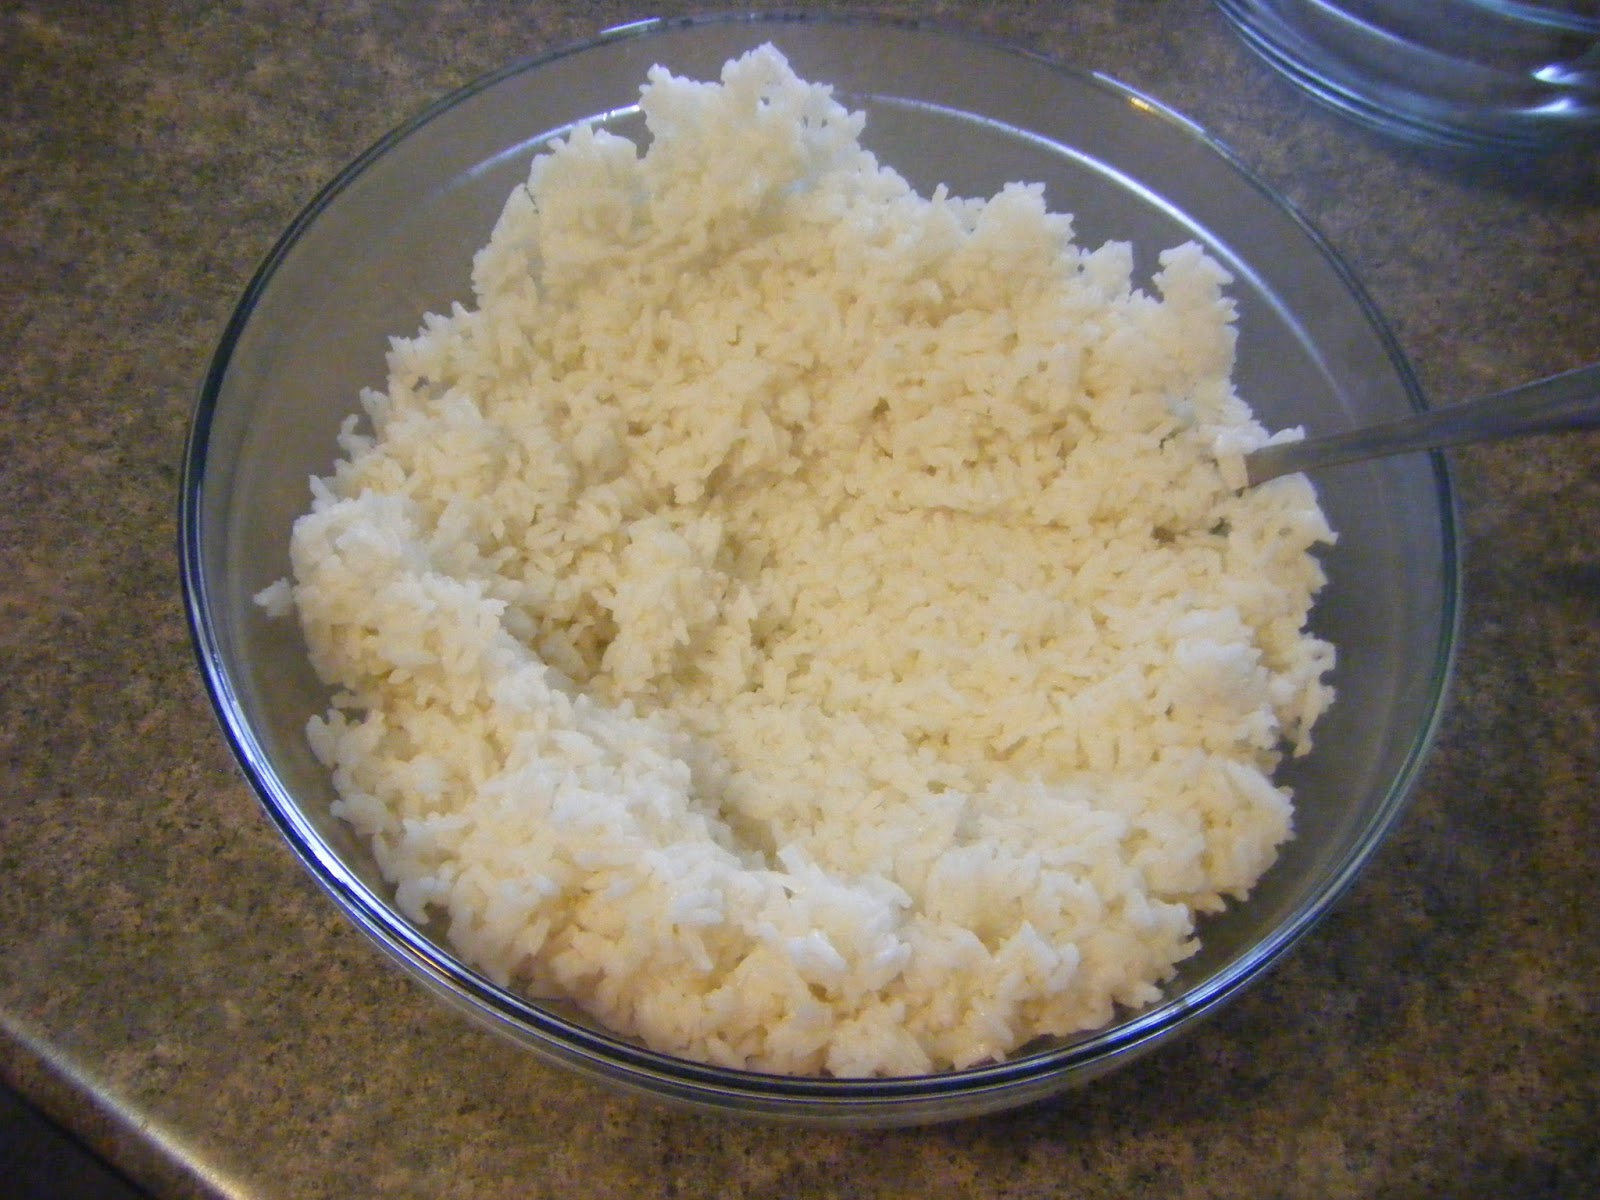
Add 2 eggs and 1/2 cup of romano cheese and stir well.


Tim making the second batch of rice. (as soon as the rice cooking pot is free!)


Almost time to start.


Bubba wanted that kiwi that posed with the bag of rice earlier in the post.


One final station before we start.
The Rice Station, manned by my mom and I. One very important part of the Rice Station is the bowl of cold water. Somehow dipping your hands in the cold water before touching the rice mixture keeps it from sticking to your hands as much, and without it, making a rice ball is next to impossible.


With Bubba fed, and occupied, now we are ready to start!
Meatball Station:
First make a meat ball, about golf ball sized. 


Next The Rice Station:
Wet your hands in the cold water.


Spread a layer of rice in your palm.


Add the meat ball.


Cover with more rice.


Smooth into a ball.


On to The Egg and Bread Crumb Station: 
Dip the rice ball in beaten eggs.


Then roll in bread crumbs.


And finally The Fry Station: 
Fry til golden brown in peanut oil.


Bubba set up his own station while we cooked. 


After 5-ish hours we finished.
The mother load! I think we had about 8 dozen.


The leftover sauce the meat cooked in that I told you to save can be reheated, and is delicious poured over the rice ball.


As of yet Bubba has not tried a rice ball, but he has plenty of chances. The freezer is filled with them!


Monday, March 25, 2013

Crock pot Chicken Enchilada Soup

Since the oven in our new house is broken I have been figuring out new recipes that don't involve it while we save for a nice new oven with flat top cooking surface. This is one of my new favorite crock pot meals I have discovered in the process.

1/2 cup medium salsa
3 cups chicken stock
2 frozen chicken breasts
1/4 teaspoon cayenne pepper
1/4 teaspoon paprika
1/2 teaspoon chili powder
1/2 teaspoon cumin
1 can enchilada sauce
1/2 cup sour cream
1/2 cup corn
1 can black beans (drained and rinsed)
2 slices american cheese
Garnish with shredded cheddar cheese

Put two raw (frozen is ok) chicken breasts into a crock pot


In a sauce pan mix up the chicken stock, salsa, cayenne, paprika, cumin, and chili powder together bring to a simmer and pour it over the chicken. 
Cover and cook on low for several hours.


After several hours, the chicken should be ready to shred.


I just use two forks. After cooking for so long it practically falls apart.


Then add the enchilada sauce, beans, and corn.


I wait til the last hour of cooking to add the sour cream and american cheese, and turn up the crock pot to high heat, leaving the lid sightly ajar to allow the steam to escape.


I decided to make bisquick corn bread muffins to go with the soup. I have been talking about silicone baking pans for a while, and my friend bought me a couple for a housewarming gift so I decided to try them out. I am also still baking in the toaster oven, 
so the bake time may vary a little from normal ovens.

Here's what you'll need for the muffins:
2/3 cup bisquick
1/3 cup corn flour
1/4 cup sugar
1/2 cup milk
1 egg

Mix everything together.


Pour in the baking pan (the recipe will fit in a standard muffin tin as well).


Bake at 350 for 25-30 minutes.


These things popped out of the tin so easily! And it is so simple to clean up. 
I hate how muffin tins are such a pain to scrub out, 
but these are so flexible it is no trouble at all.
I plan on replacing all of my muffin tins now :)
Thanks Tamara!


Serve the enchilada soup with shredded cheddar and sour cream to garnish.


Bubba has been a kind of picky eater lately, but tonight he kept watching us eat and picked at his chicken fingers and corn (the only meat or vegetable he has wanted to eat for the past month) so I offered him and spoon, and much to my surprise he loved it and asked for more. Maybe he'll start eating like he used to sooner than I thought. 


Monday, March 18, 2013

Toaster oven Bacon and Mushroom Mini Quiches

I have made crustless quiche twice in the past for this blog, the first one was a spinach, mushroom, and red pepper quiche, and the second a chicken, broccoli, mushroom, and potato quiche. They are lower calorie, and easier, but I love a quiche with crust, if I have the time to make it. One particular day when Bubba was in an excellent mood, and I really felt like quiche for lunch, I decided to make Bacon Mushroom Quiches, and since we still don't have a working oven they were done in the toaster oven, in 3 separate muffin tins. I have found that you can bake most things in the toaster oven, the trick is to keep the heat a little lower and check it often. I baked these at 325- ish (it's hard to tell on the dial, there is a large gap between 300 and 350) Unless you have to, I wouldn't make the full recipe in the toaster oven because between prep time and baking time, I think it took like 3 hours.

Here is what you'll need:
Crust:
2 1/2 cups bisquick
1/2 cup margarine

Quiche filling:
1/4 cup flour
1 cup milk
2 tablespoons butter
3 eggs
1 1/2 cups cheese (I use a mix of cheddar and american)
1/4 yellow onion (chopped very fine)
3 strips of bacon (precooked)
4 white mushrooms (chopped finely)
1 clove garlic
1 teaspoon parsley
1/2 teaspoon oregano
1/4 teaspoon black pepper


First mix the margarine and bisquick.


 I use a fork at first then once it gets to about this consistency then mix it with your hands.


Then take a bit of the dough and press it into a muffin tin.


They aren't pretty, and traditionally I think you would roll out the batter then cut 
out circles the size of the muffin tins, but this is way quicker.


Next saute the garlic, onions, and mushrooms in some olive oil then put to the side.


Then in a sauce pan melt the butter.


Mix in the flour.


Whisk in the milk, a little at a time, stirring til smooth.


After a few minutes it will thicken up. Then take it off the heat.


Add the parsley, oregano, and pepper.


Then add the cheese and mix well.


Then the eggs, mixing between each one.


And finally the bacon, and the mushroom/onion/garlic saute.


Then spoon the filling into the muffin tins. I used 2 mini tins, and one regular cupcake size tin.


I pre heated the toaster oven to 325-ish and baked the mini tins for 35 minutes each 
and about 50 minutes to 1 hour for the regular size tin.


Just like out of the real oven!


I enjoyed them for lunch, Bubba however has been on an egg strike for the past 6 months or so, but I think it may be ending soon. Sometimes he steals a bite of my omelette at breakfast and when I told him these quiches had bacon in them he took a small bite, tasted it and spit it out. Must have been too much egg over powering the bacon. (he LOVES bacon. we have to spell it out if we are talking about bacon and not prepared to give him any)